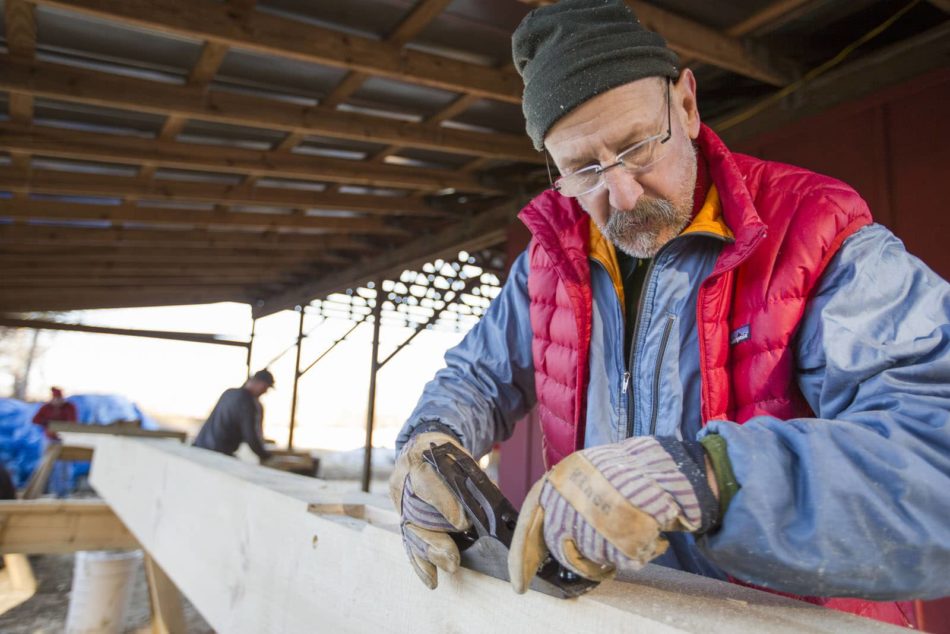
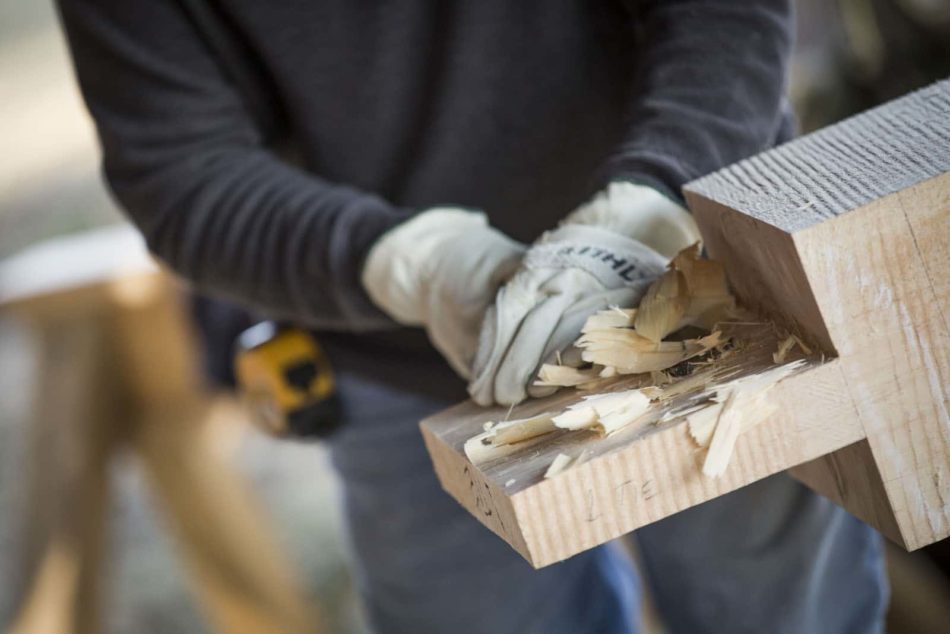
This post is a peek into a workshop that was organized by Timberhomes employees in Matt’s hometown of Brevard, North Carolina. The students are caught in the act here, slicing and dicing, reading plans, and raising timbers. Many of our students are builders themselves, who were looking to add timberframing to their repertoire. North Carolina offered us a respite from the New England winter, and a sweet two weeks making friends. Thanks to Capturing WNC Photography for taking, and allowing us to post, these beautiful photos.
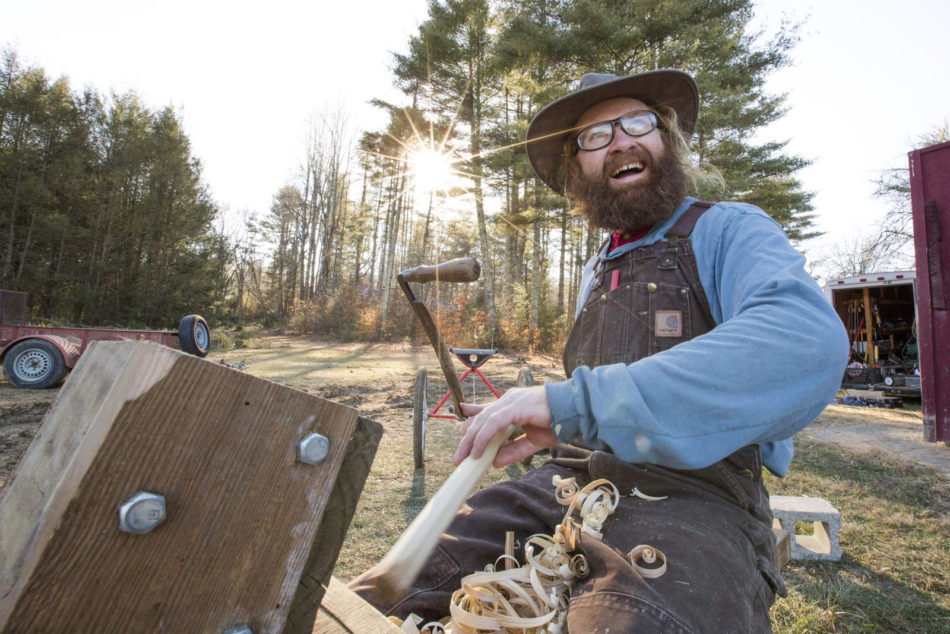
…’just shave off everything that’s not the peg’…Kris Forward, of Forward Construction
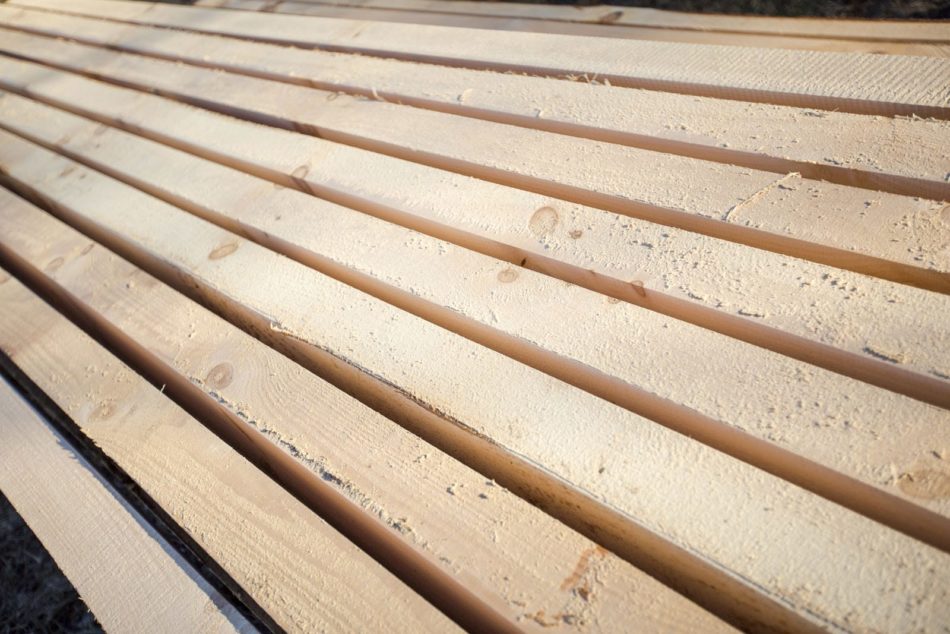
Eastern white pine rafters, hot off the press
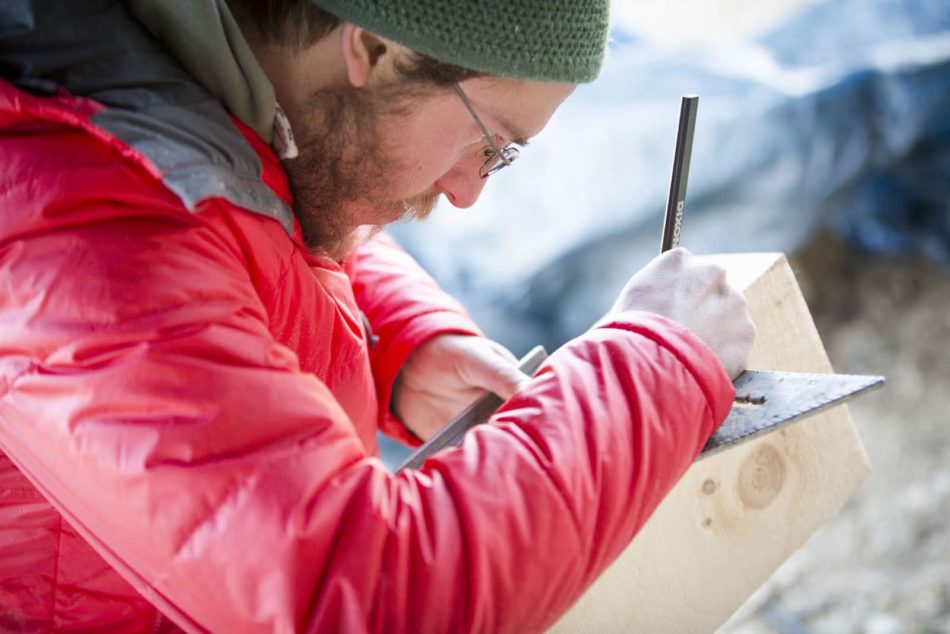
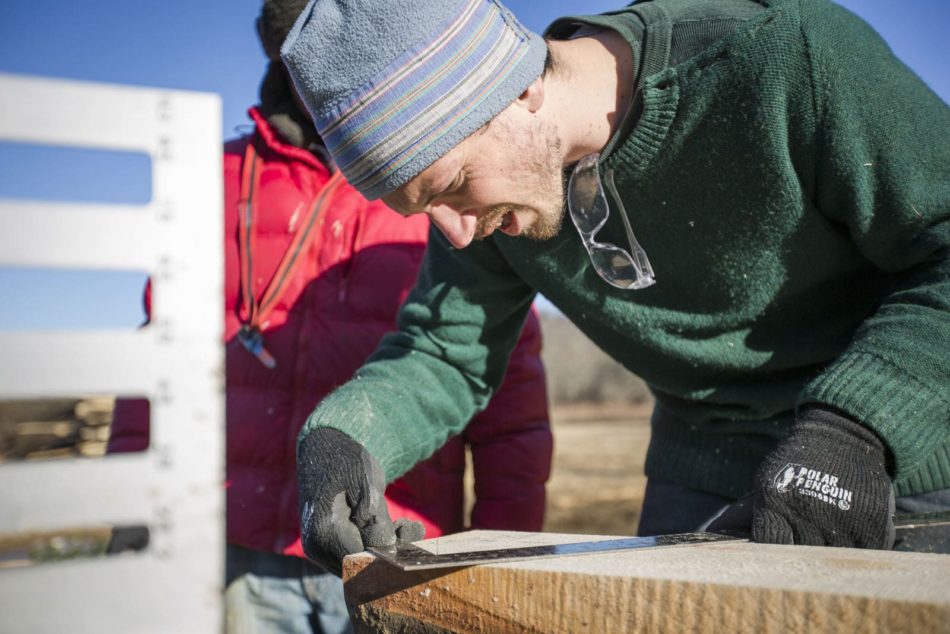
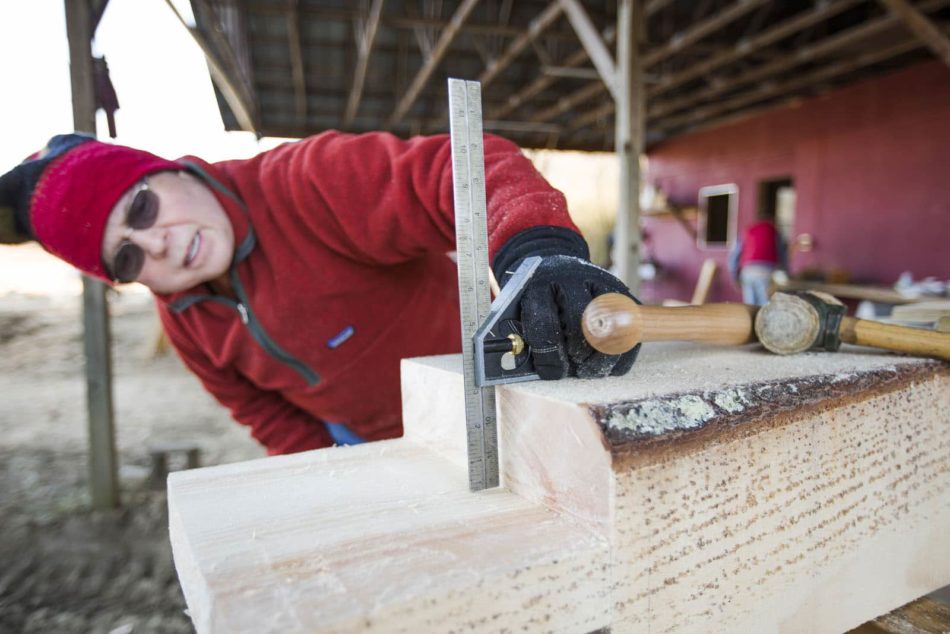
A student starts to lay out the first timber..Stuart Howe, of Mud Dabbers
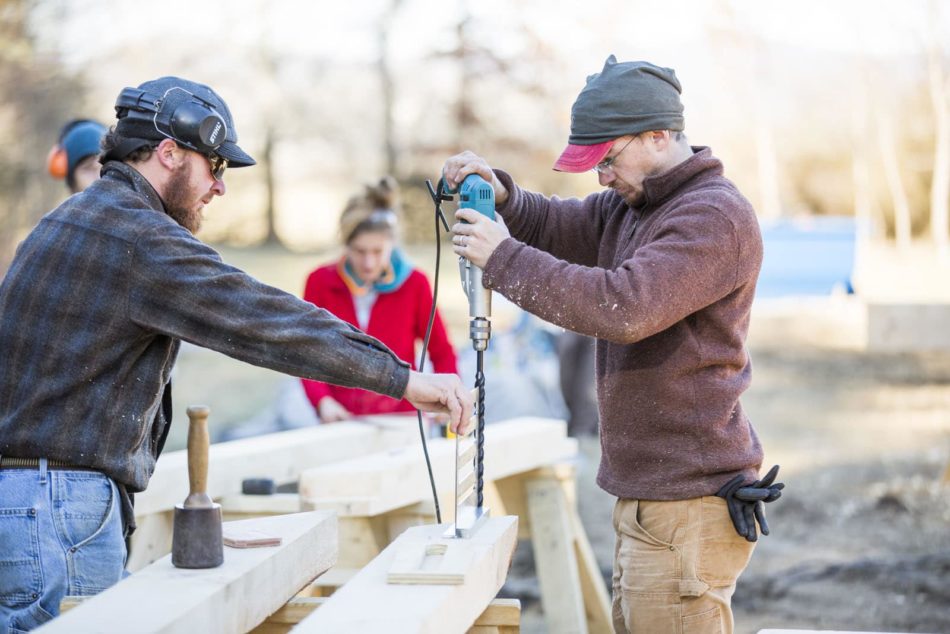
Students use a corded drill and a big Al tool to drill a peg hole…Mark Wulff, on the right, of Brown Wulff Home Services
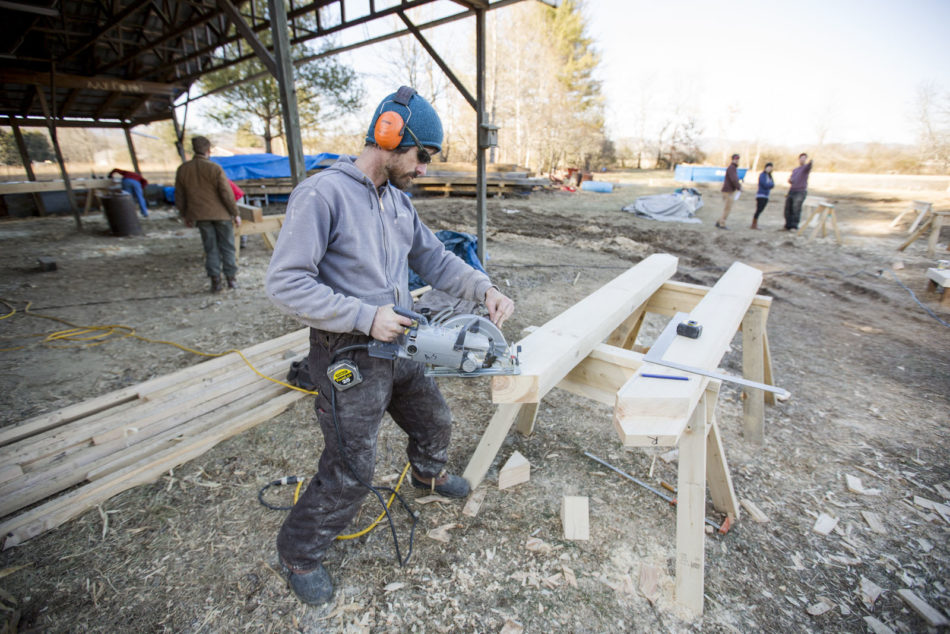
This course was geared towards carpenters and woodworkers, and teaching the safe use of common power tools used in timberframing was an integral part.
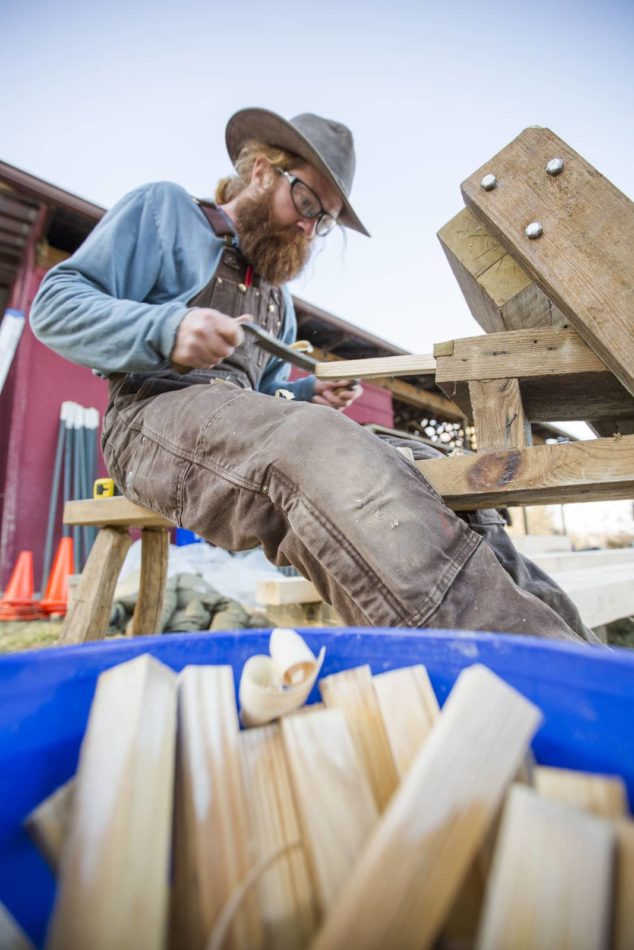
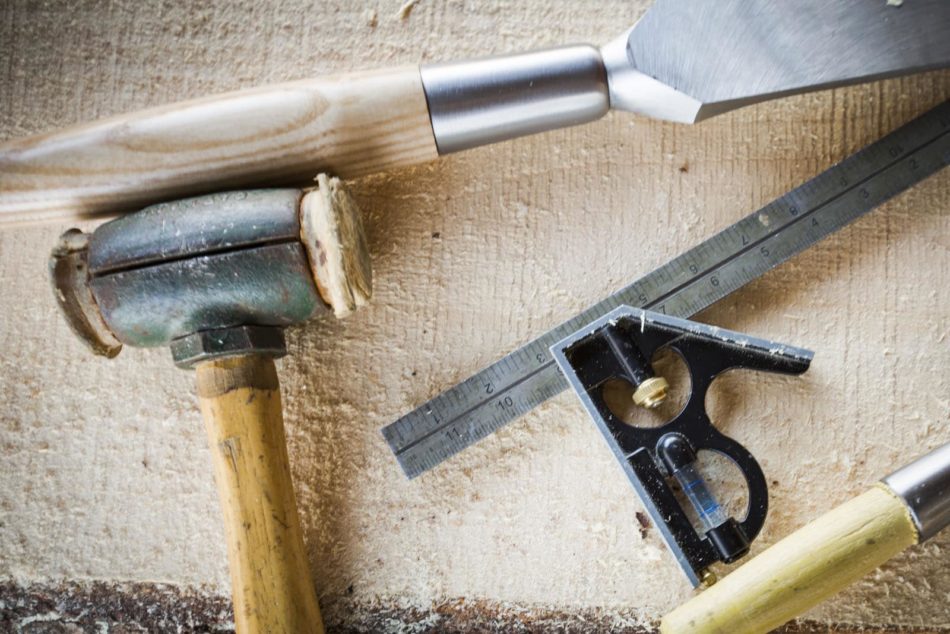
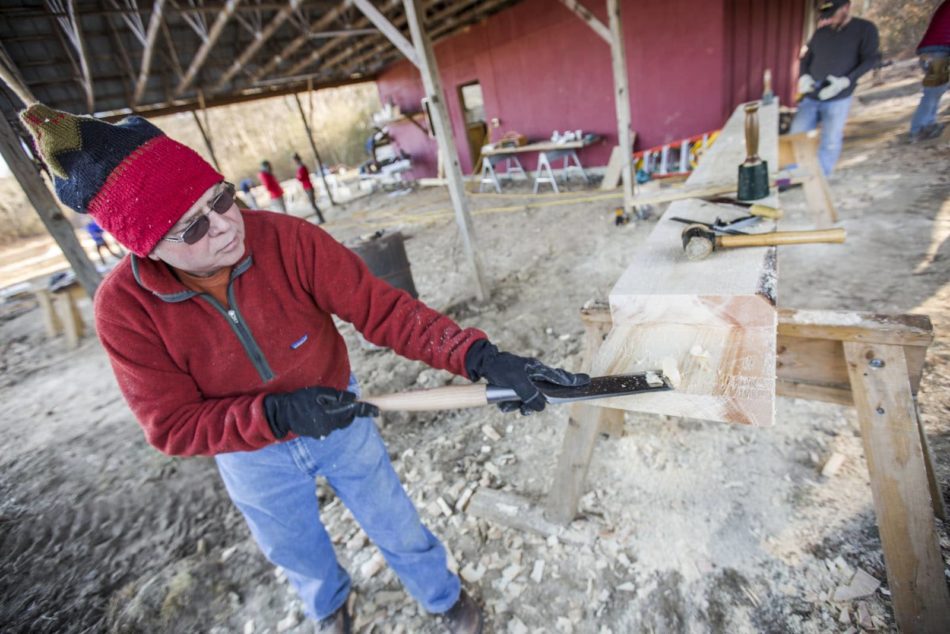
Building a timberframe also requires proper use of many traditional hand tools, like the drawknife this student’s using to shape pegs.
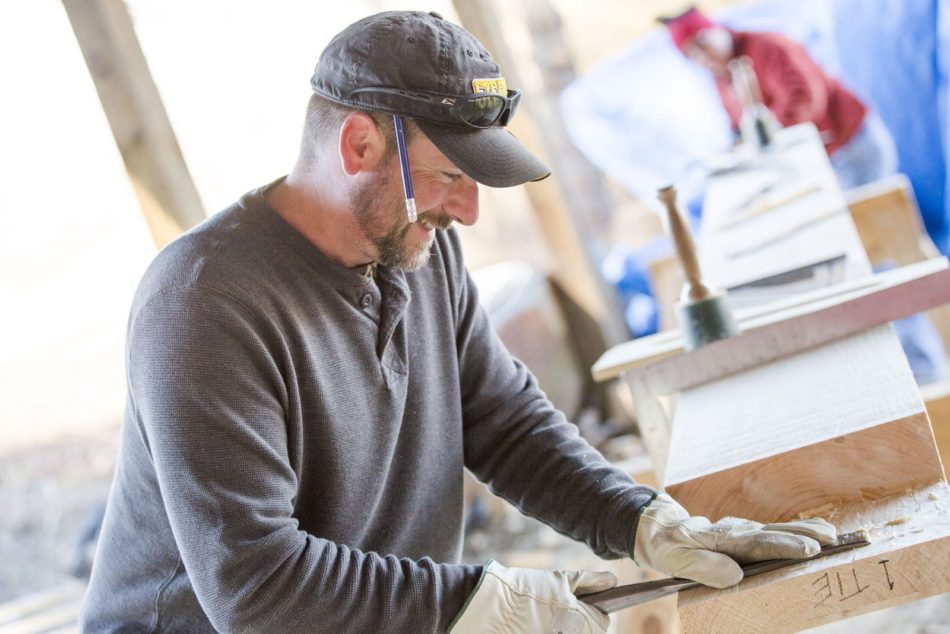
This student is using the flat back of the chisel to create a flat surface on this tenon. And smiling.
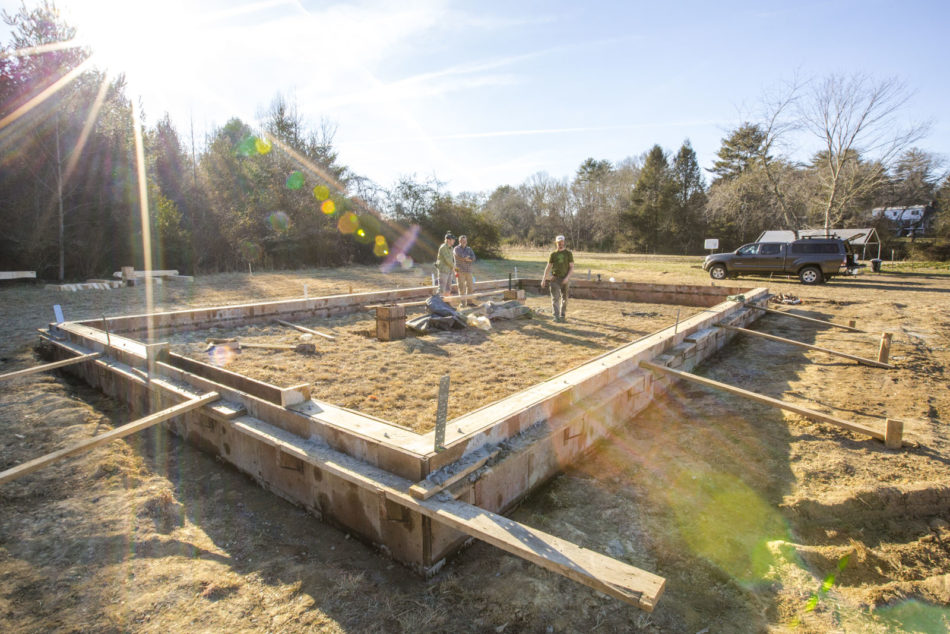
Formwork still on the concrete foundation, an instructor and the project’s GC survey the site.
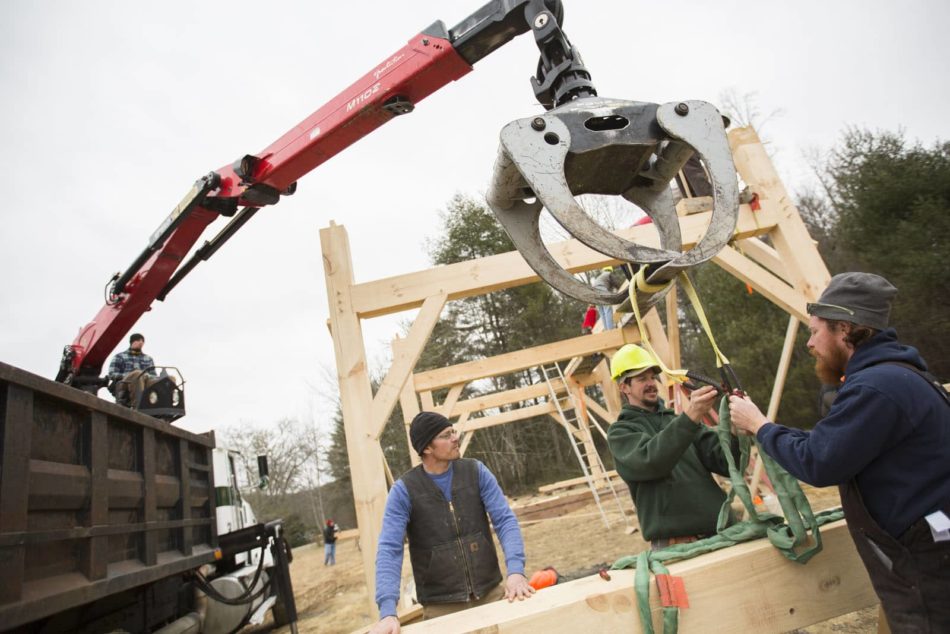
Most of the heavy lifting at the frame’s raising was done with this boom truck. From left to right, Chris Faulkner of Faulkner Woodworking, Timberhomes’ Matt Agrella-Sevilla, and Rob Skeen of Bracken Mountain Builders
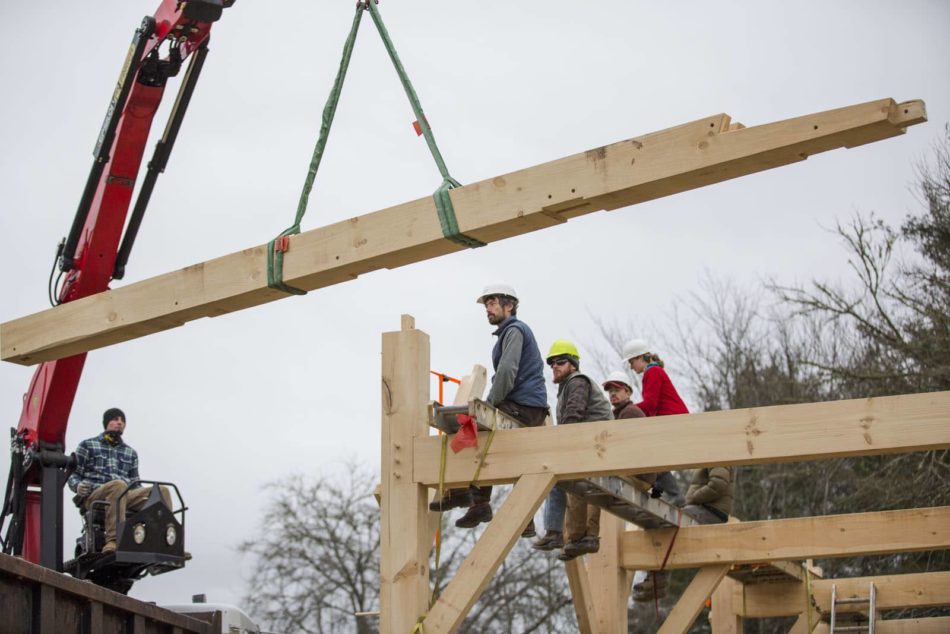
A plate section suspended from the claws of the boom tuck
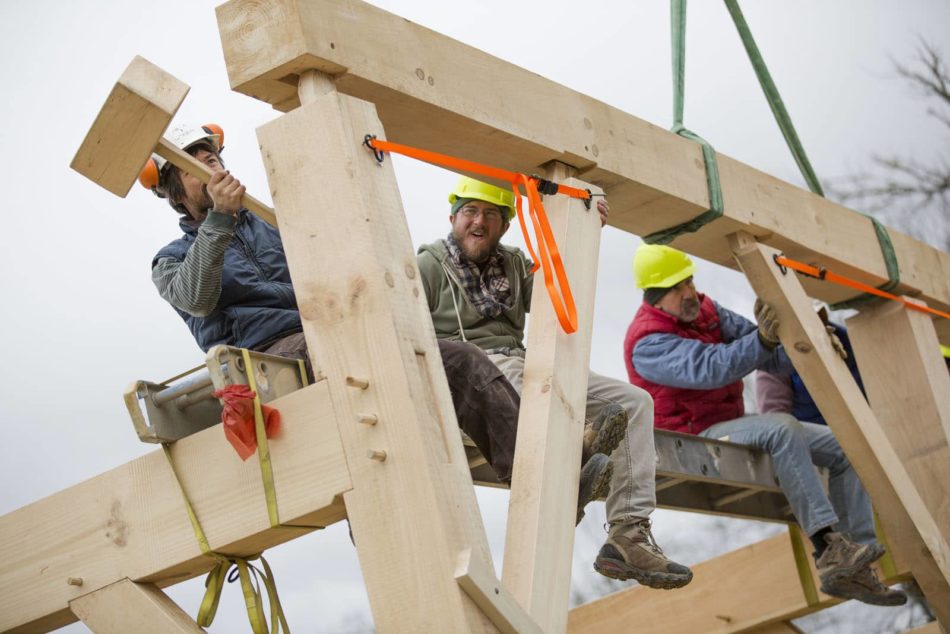
A student uses the commander to ‘nudge’ a plate section over. Other students keep track of braces and other post joinery.
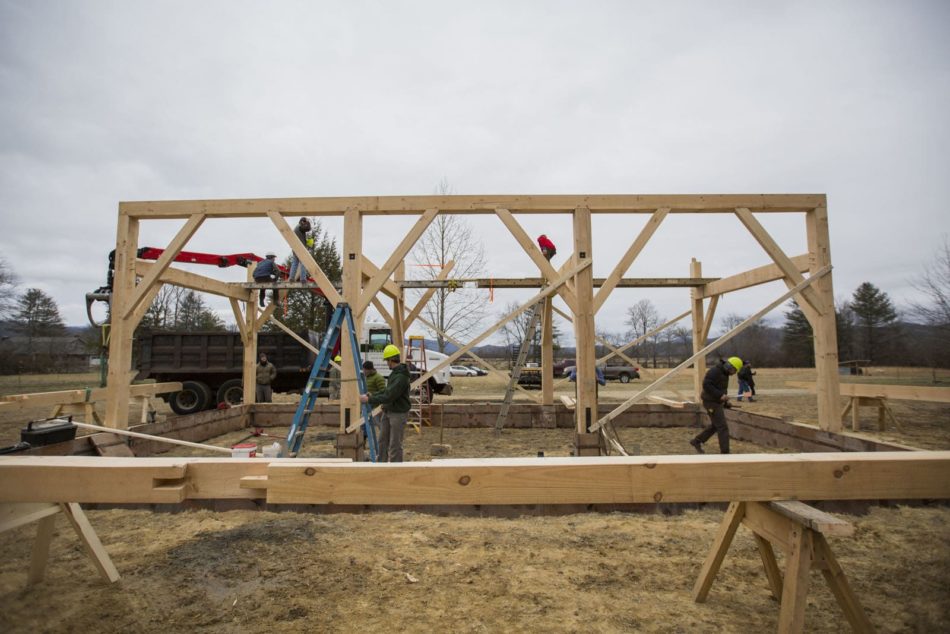
Most of the main frame is raised, and a long wall is getting assembled in its entirety on horses.
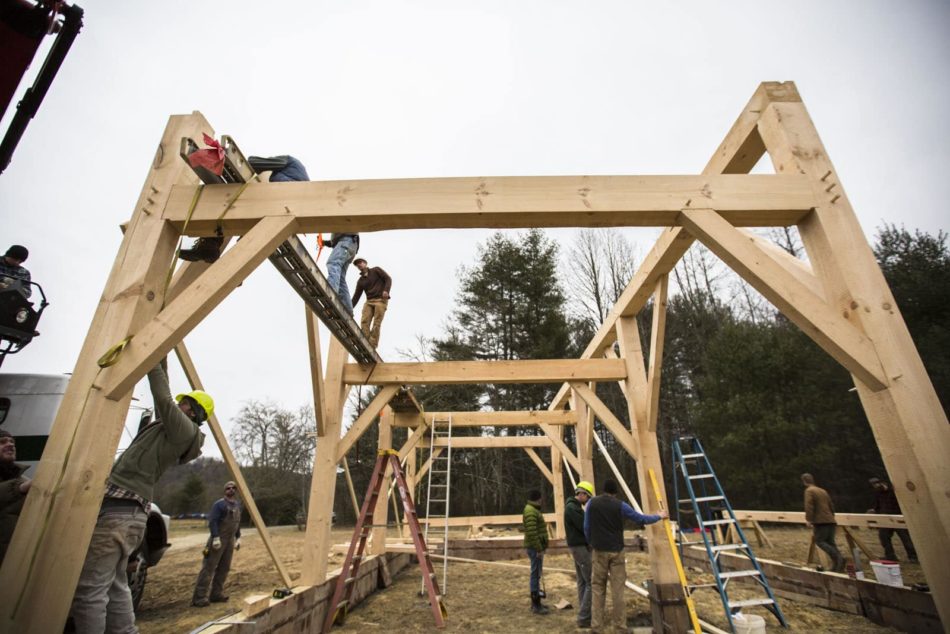
With the main cross frames raised, students set up planks to raise pairs of rafters.
