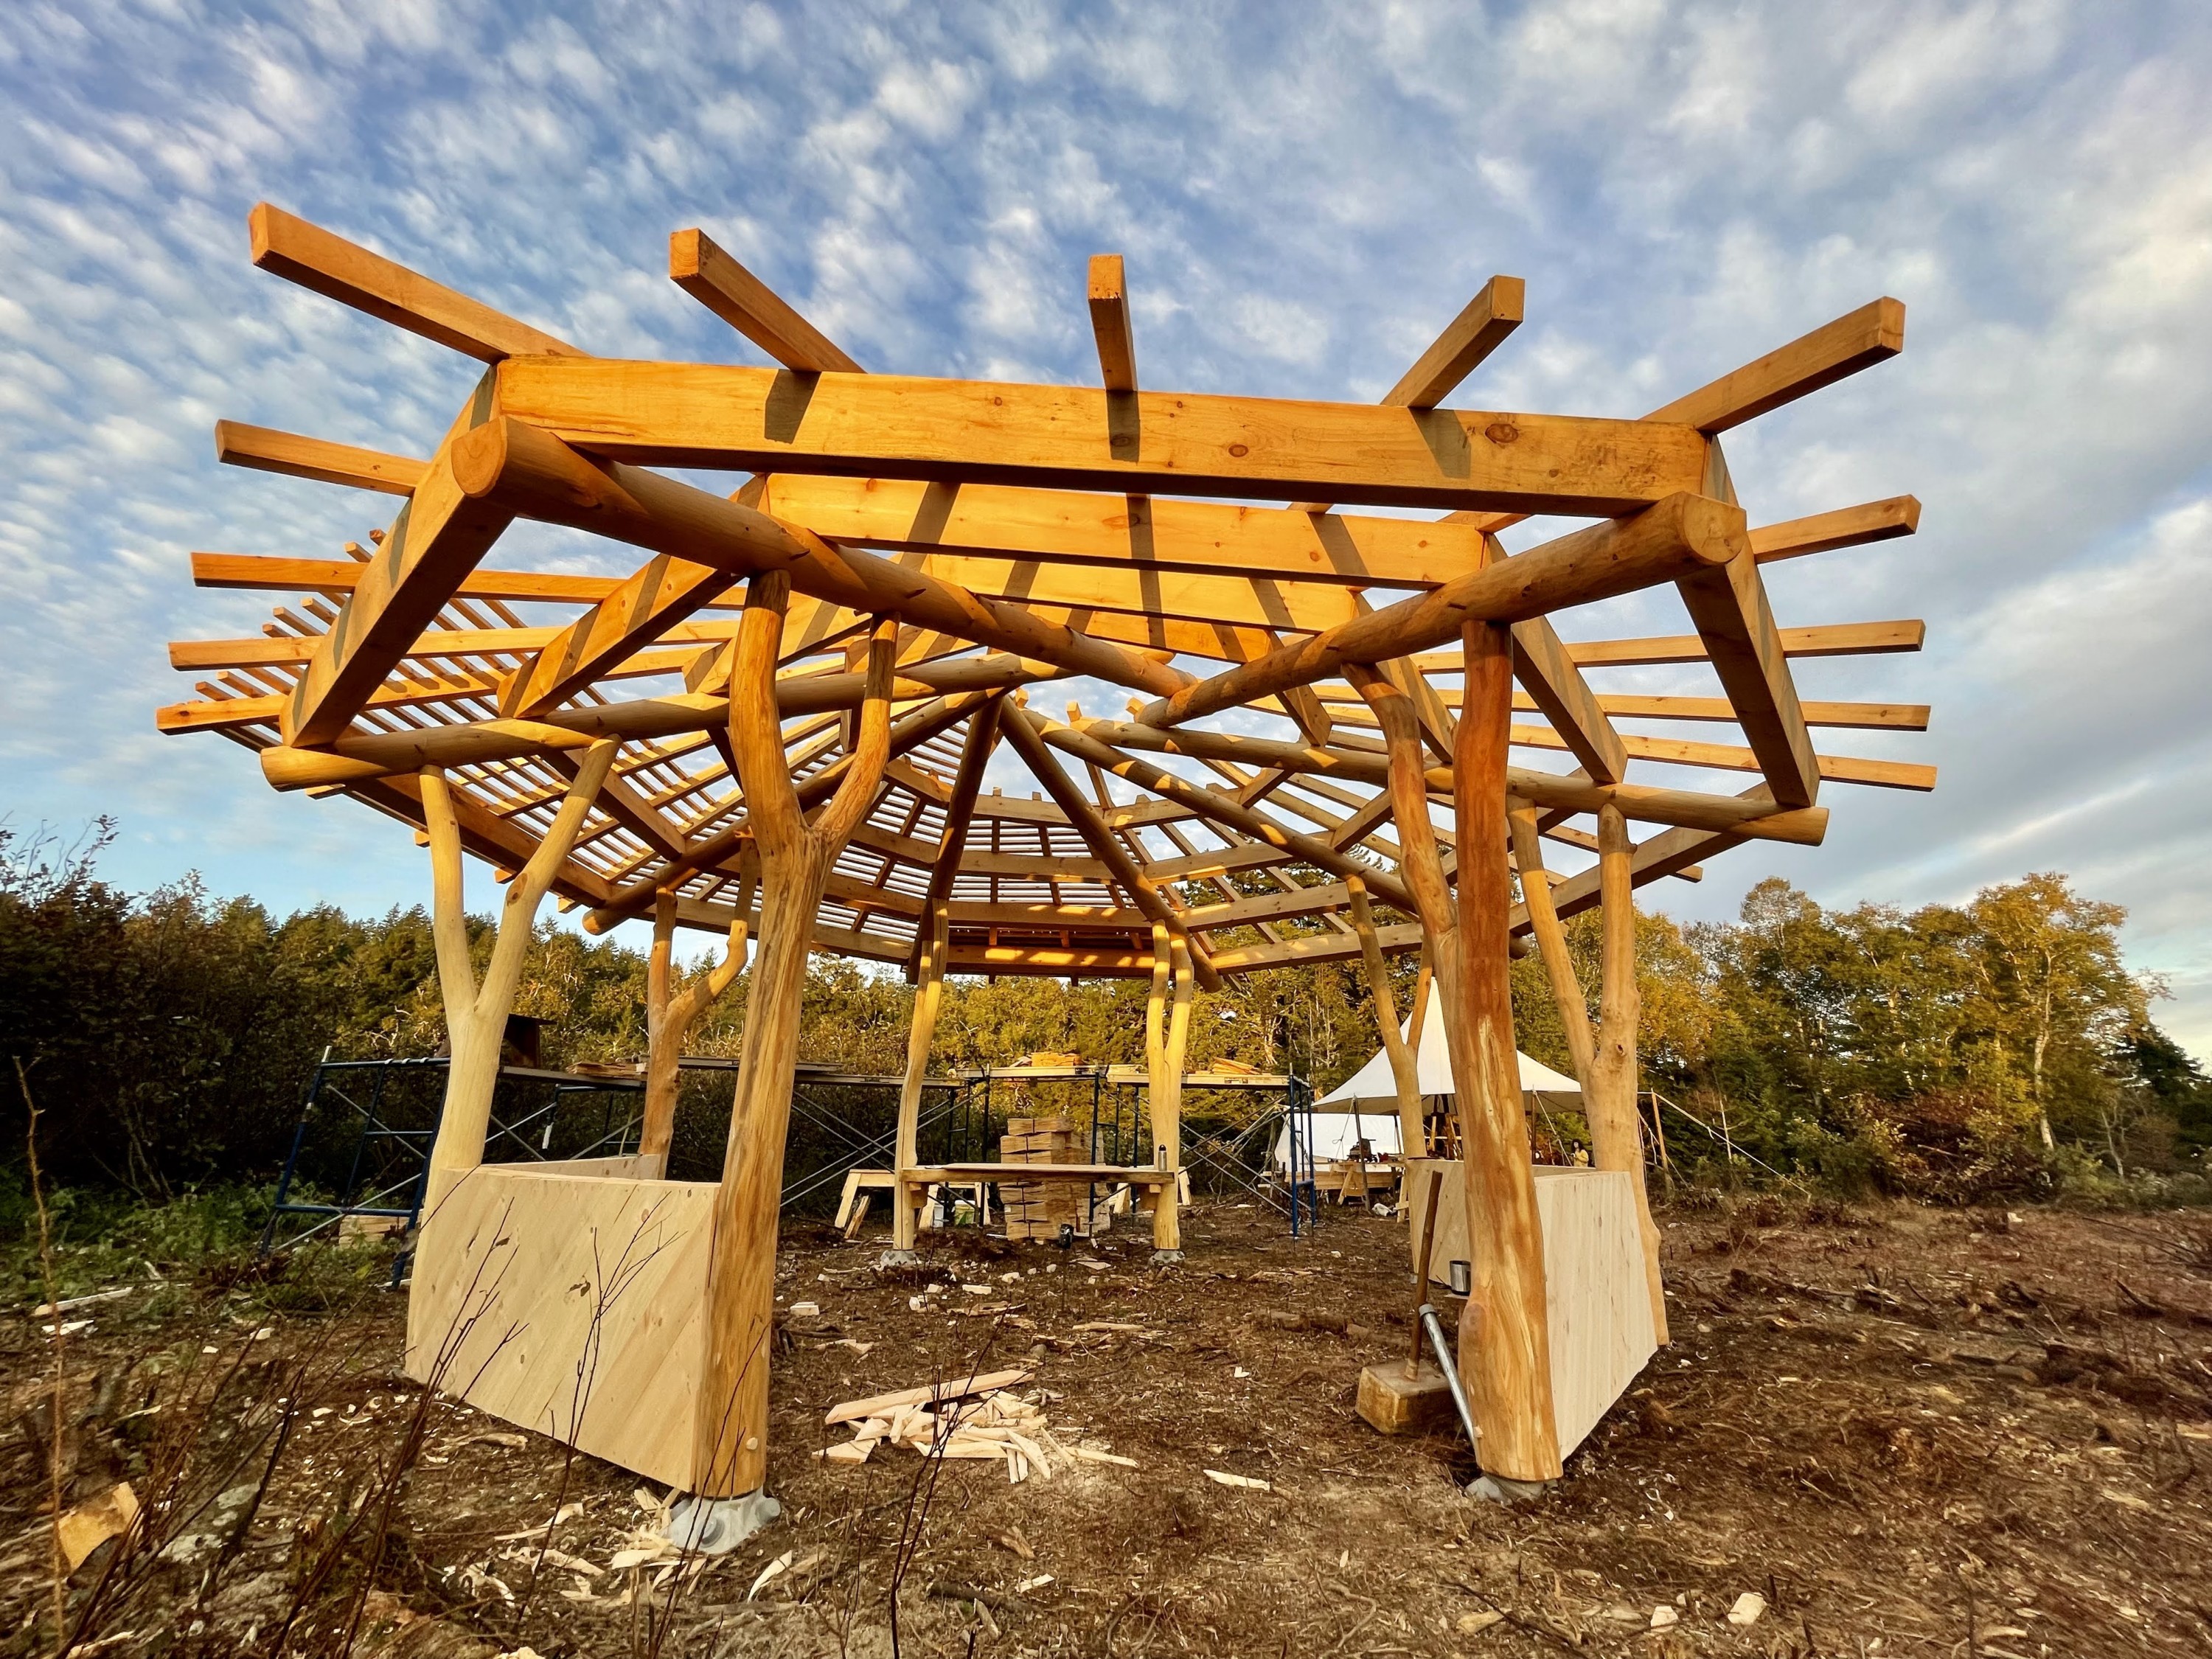
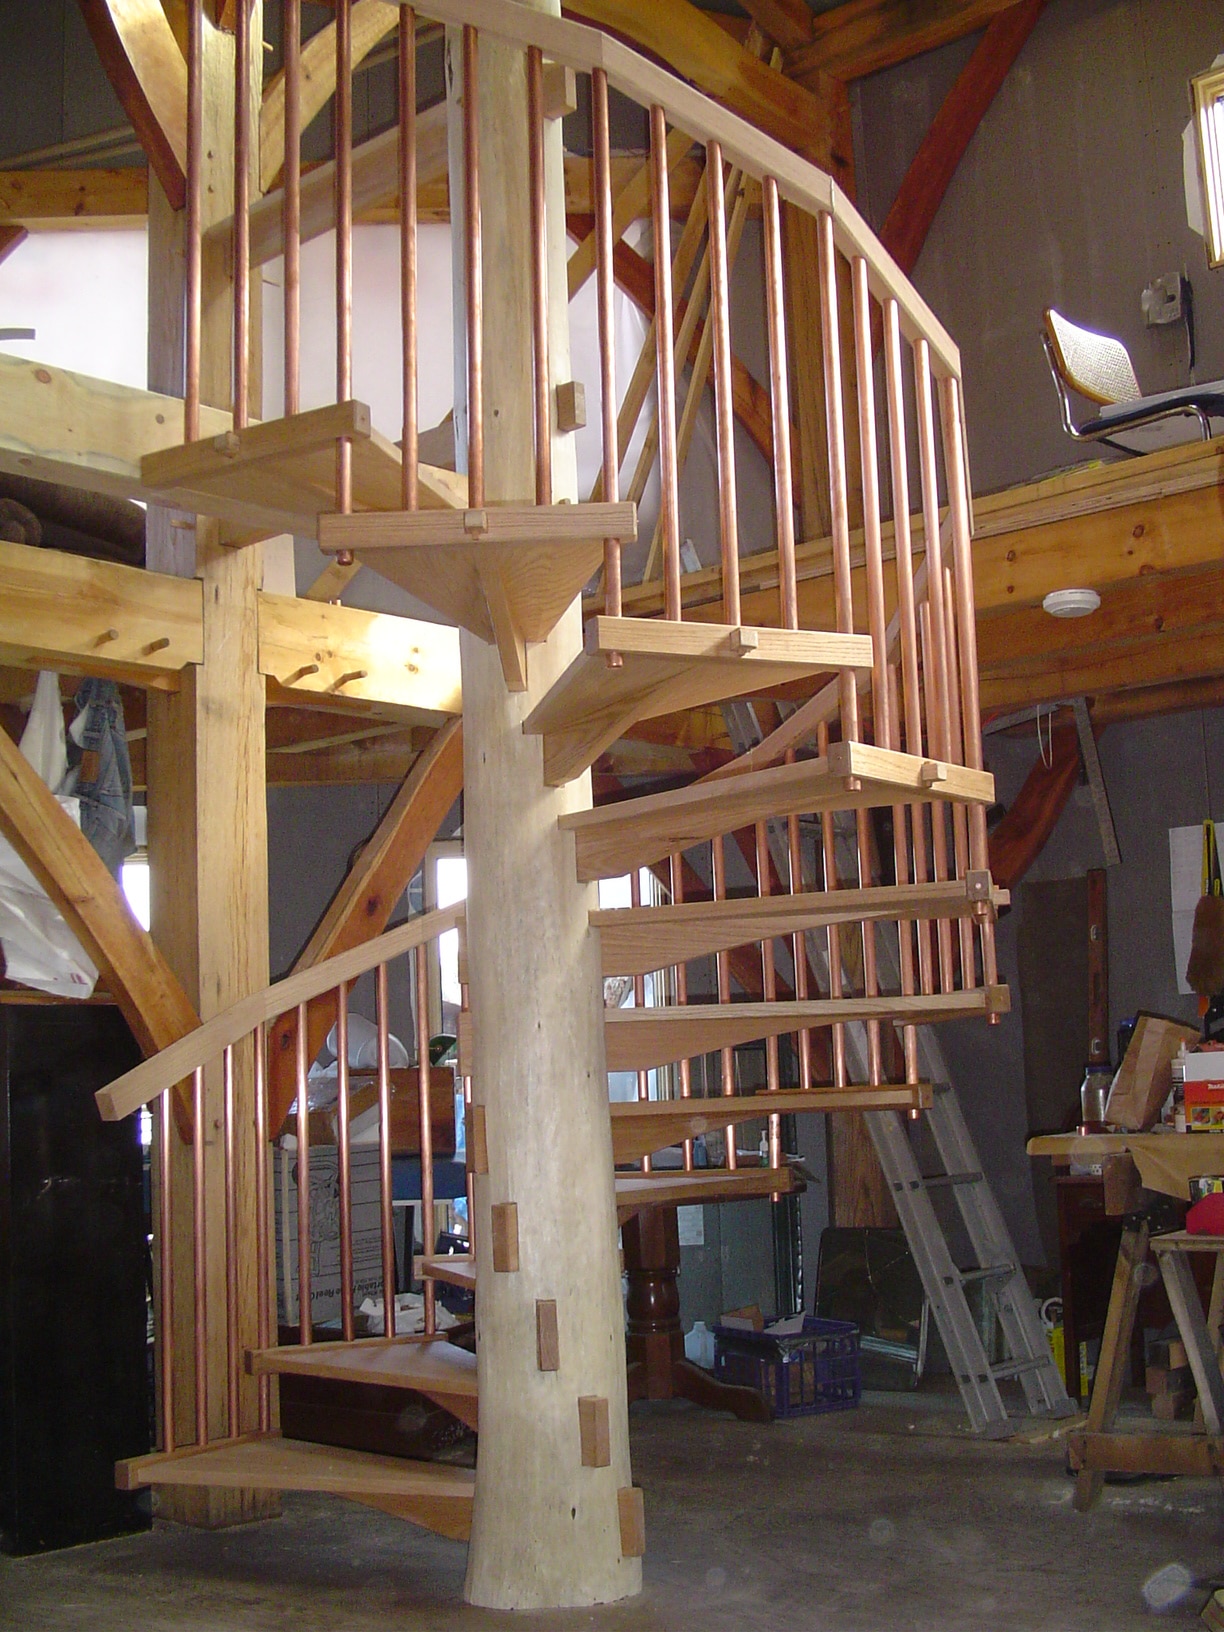
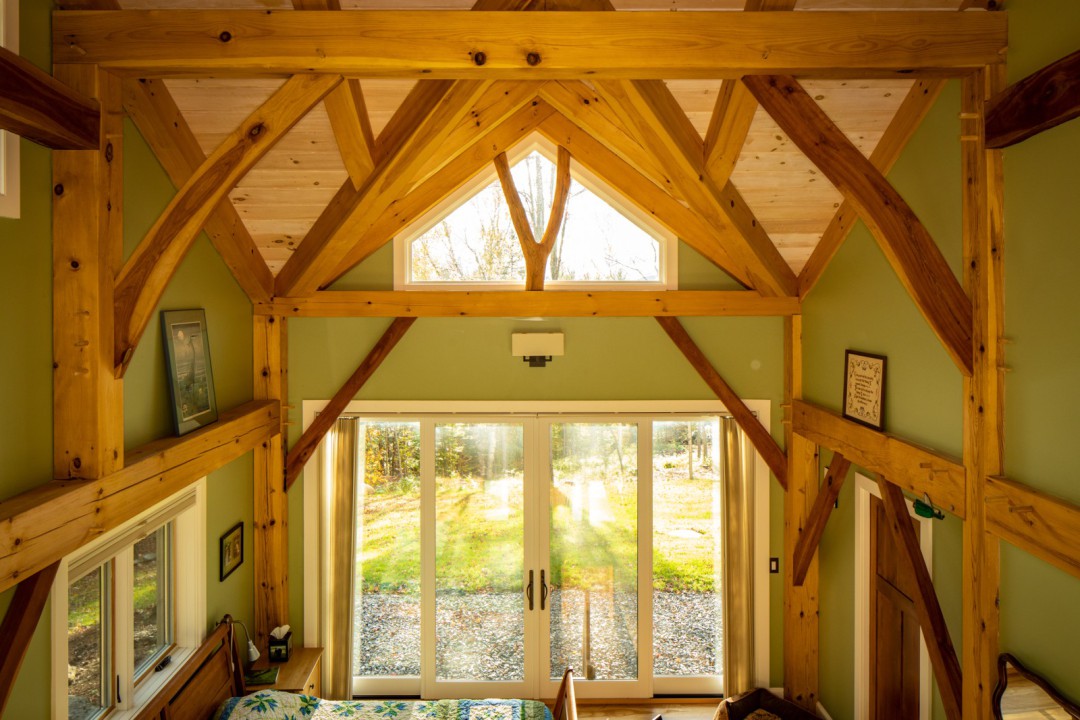
TimberHomes uses many natural elements in our designs. We often use hardwood forks, or natural “Y-shaped” timbers, as posts for entryways and porches. Sometimes they feature in kitchens, or make up the majority of a pavilion frame. These beauties help create spaces that are both sheltered from the elements and reflect the look of the Northeast woods.
It’s a trick mating the round stem trees to the square timbers they support. Here’s how we do it…
Below is a series of photos showing how we joined a forked ash timber to a ‘jug handle’ tie beam – a timber that is rectangular in cross section, but curves over its length. The method is called scribing, and a measuring/marking tool called bubble scribes helps us do it.
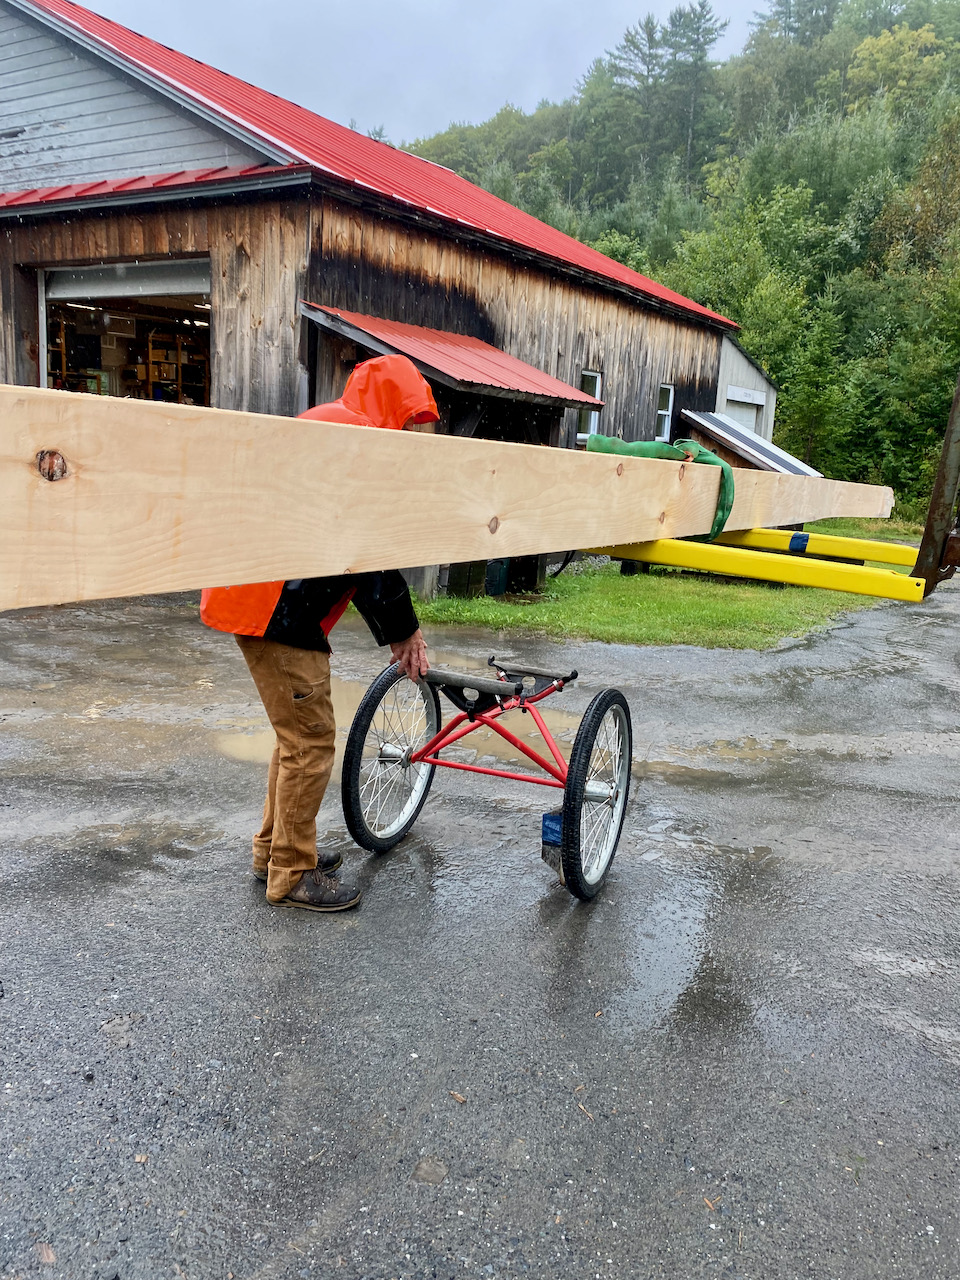
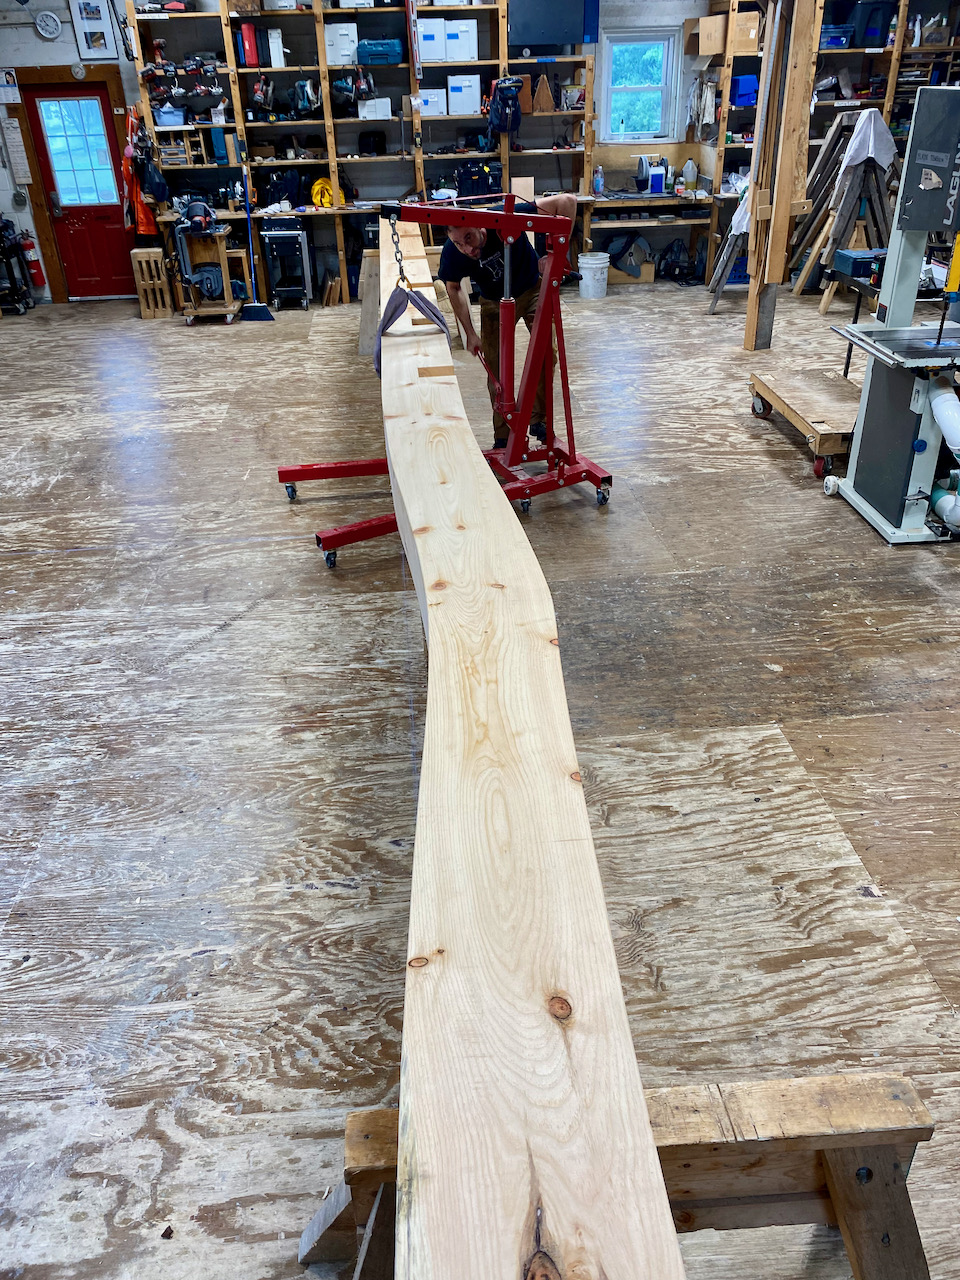
As the first step, we moved the almost thirty-foot-long tie–its other joinery already cut– into the shop with the help of the beam cart and the engine hoist. A chalk line was snapped on the floor and we took some time aligning the tie perfectly to that line with the use of a laser and stick level. Next, we made lots of micro adjustments to ensure the tie was precisely level in all directions.
Preparing to Scribe
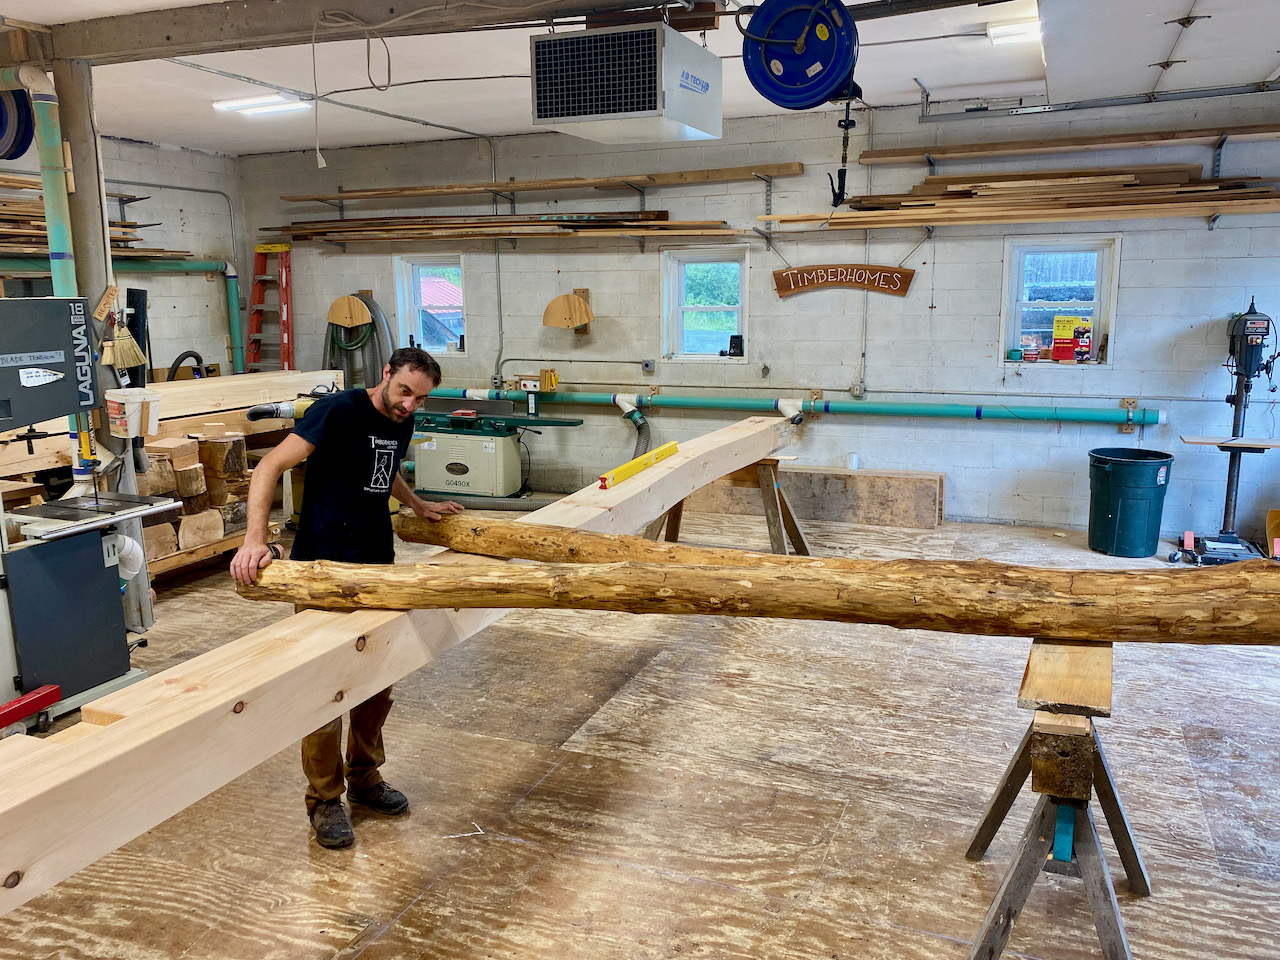
Our next steps were to set the timbers up just how we’d like them to end up in the building, but laid down flat, and to calibrate our tools.
We snapped another line on the floor at 90° to the tie and used the 3-4-5 rule to check the accuracy of our mark. Using two framing squares as calipers, we marked the center of the fork. And again, using a laser, we positioned the fork perfectly perpendicular to the tie. The top end of the fork was resting 7½” above the tie, so we ensured the bottom end of the fork was also elevated 7½” above the tie.
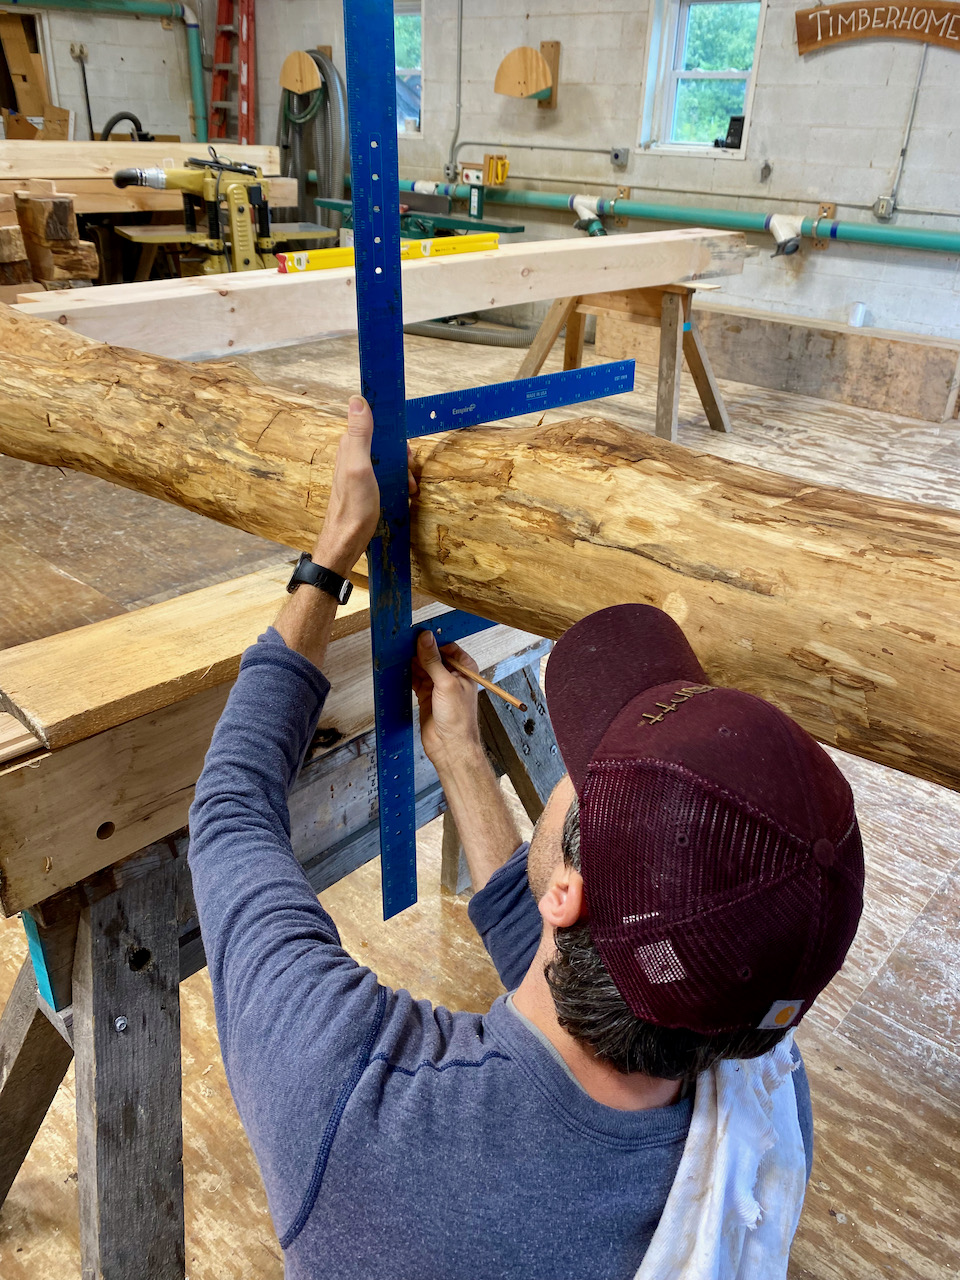
Next, we calibrated our bubble scribe tool, a tool fashioned with two drawing tips whose tips, no matter how they are rotated, always stay a set distance apart (in this case, we set that distance to be 7½”).

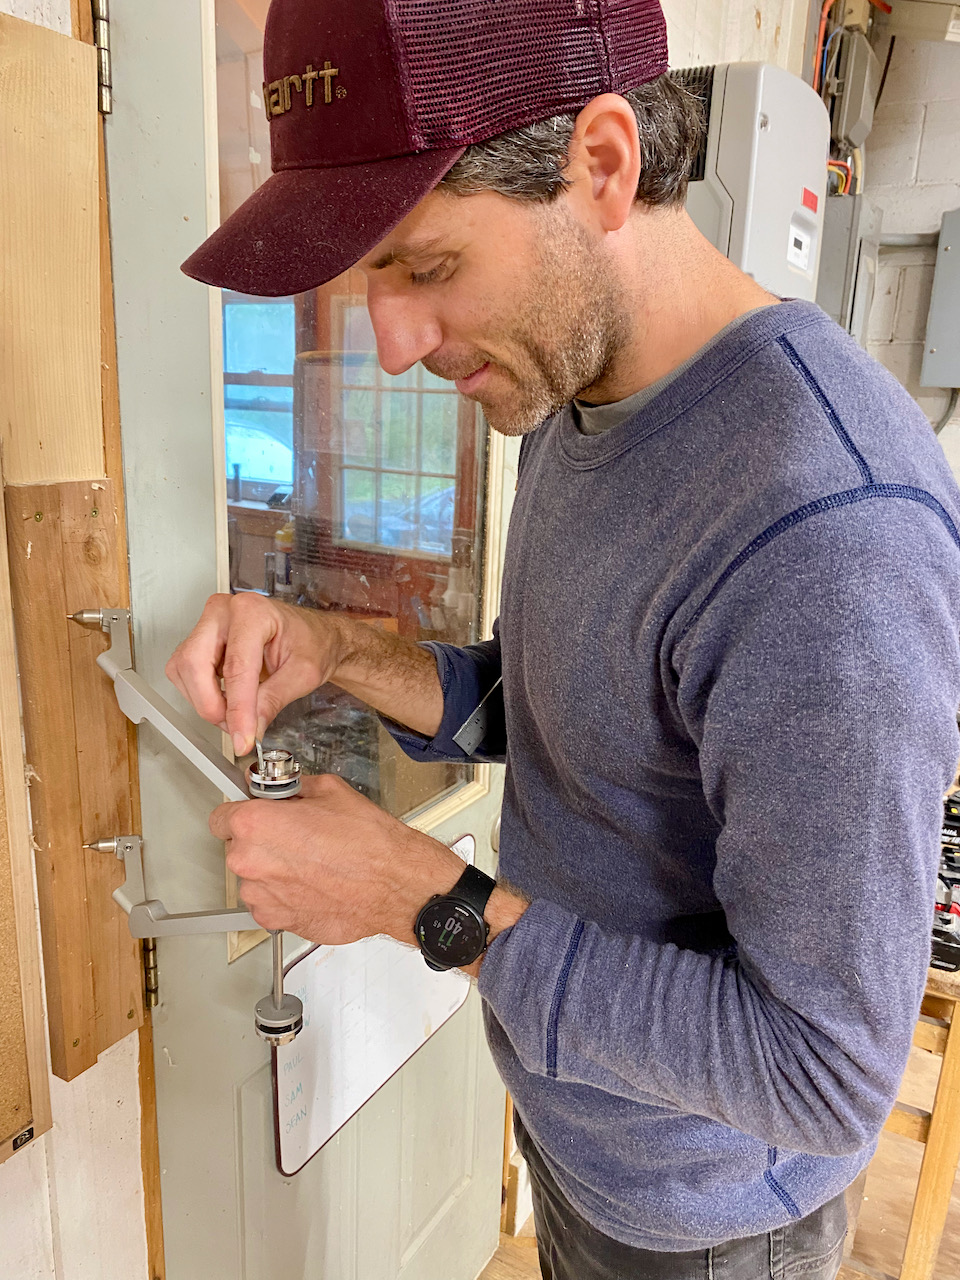
Scribing and Test Fitting the Joinery
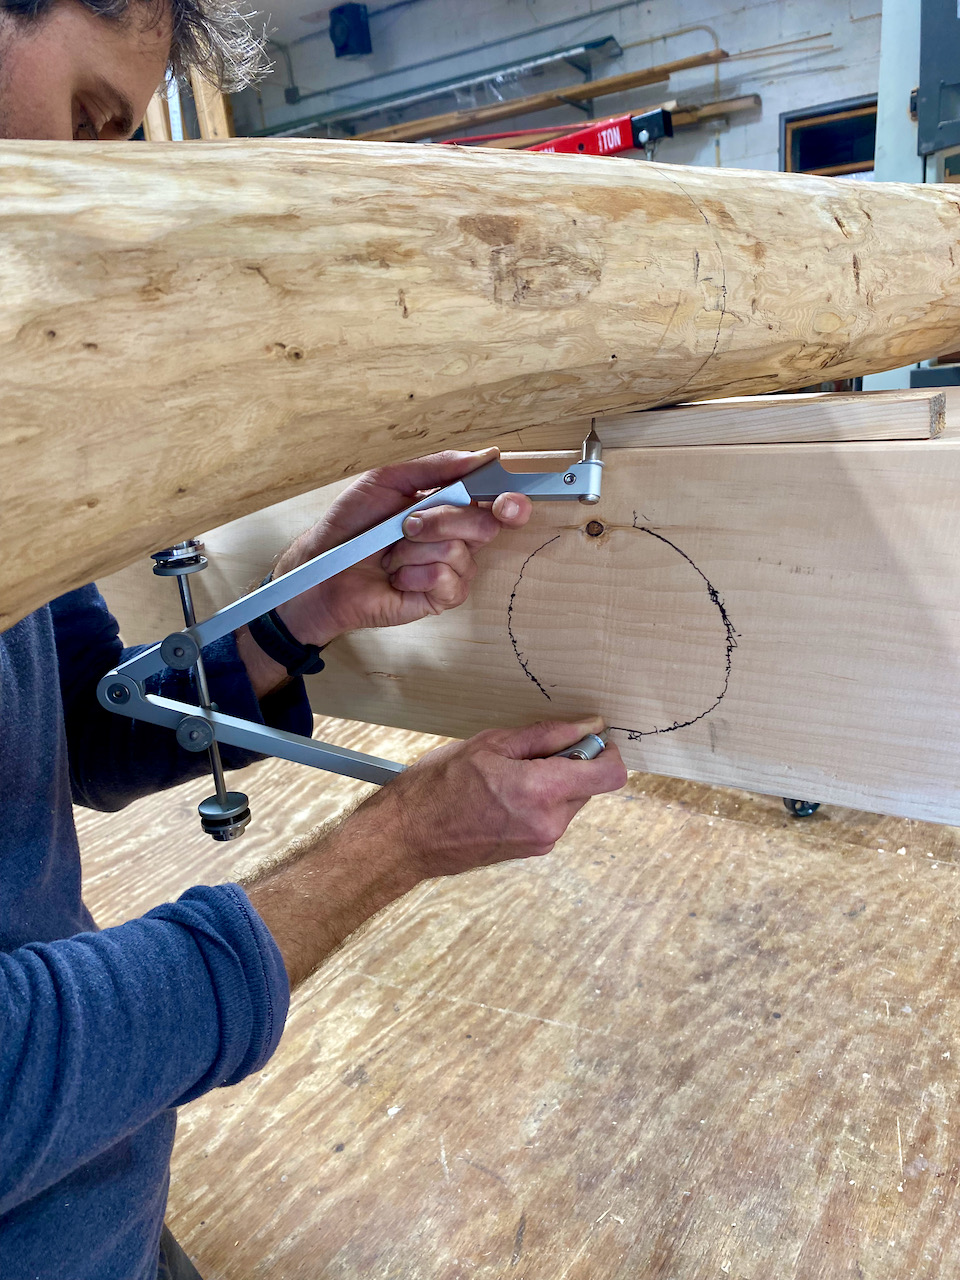
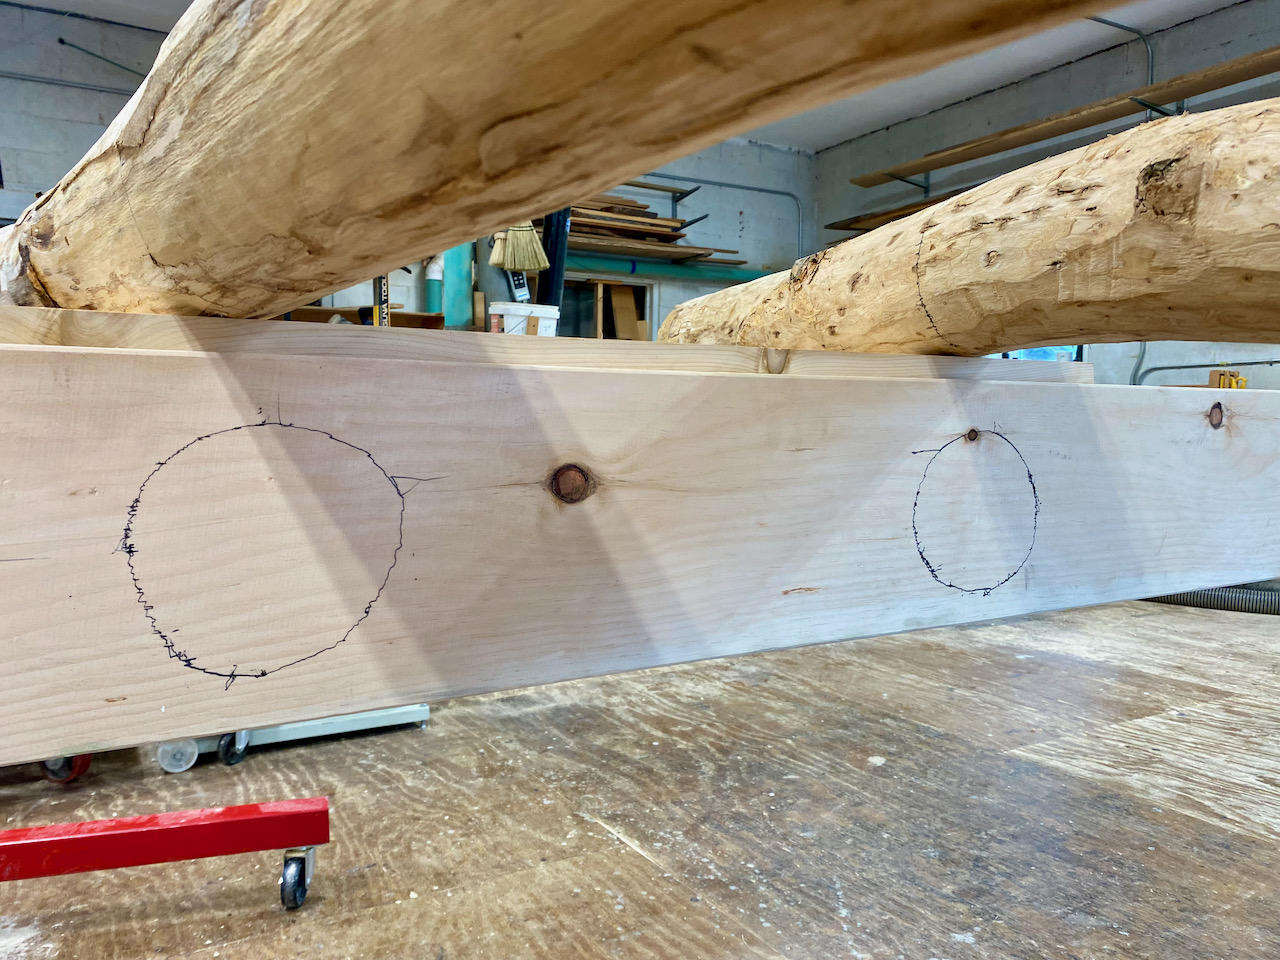
And then the delicate scribing process begins! Holding the scribe tool perfectly plumb and square is tricky, but there is a bubble indicator that helps us stay true. With both writing tips against both surfaces (precisely 7½” apart), we ended up with the shape of the forks marked on the tie, and a line depicting a vertical slice on the forks.
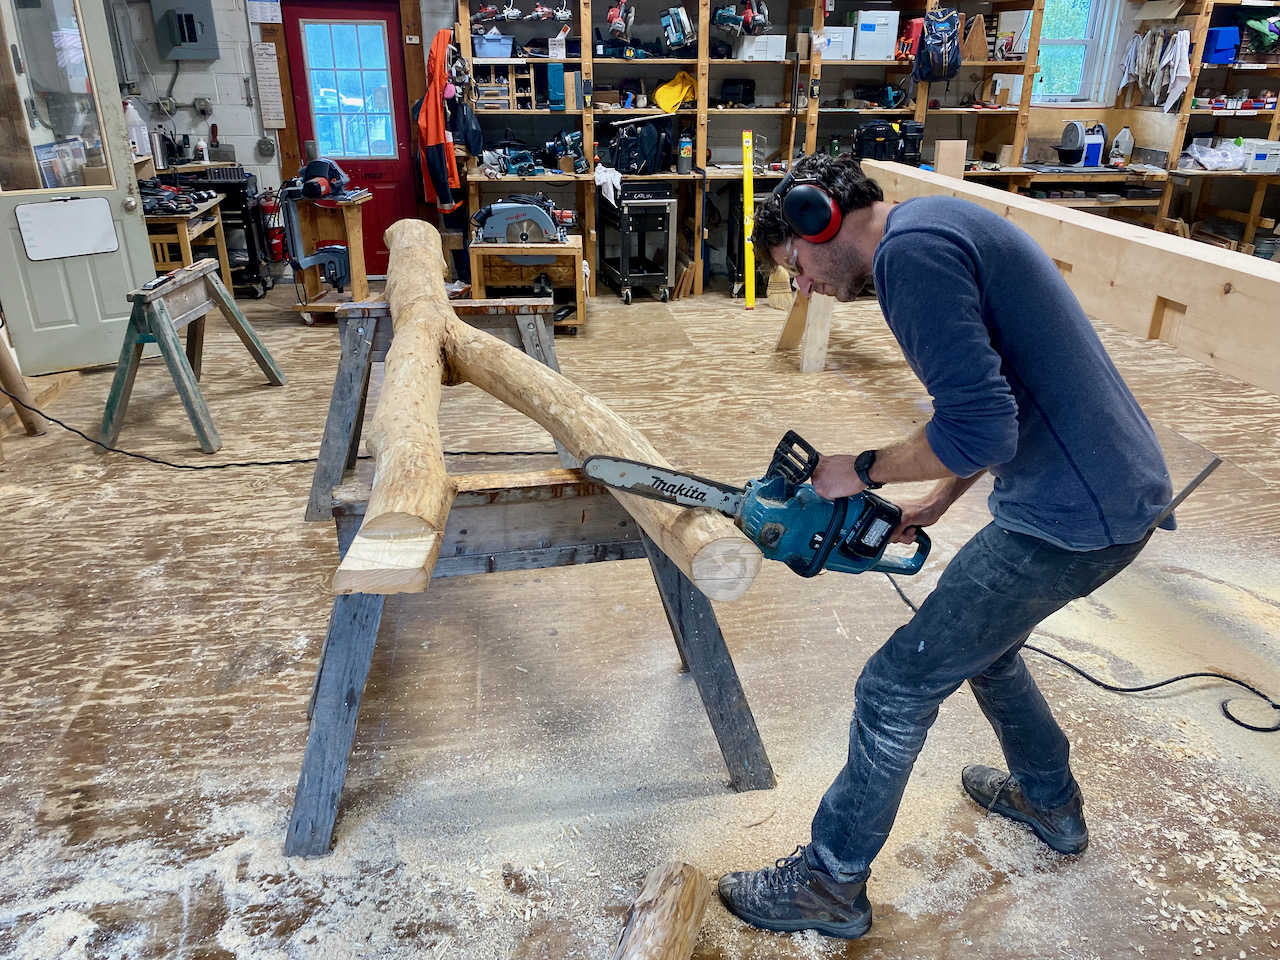
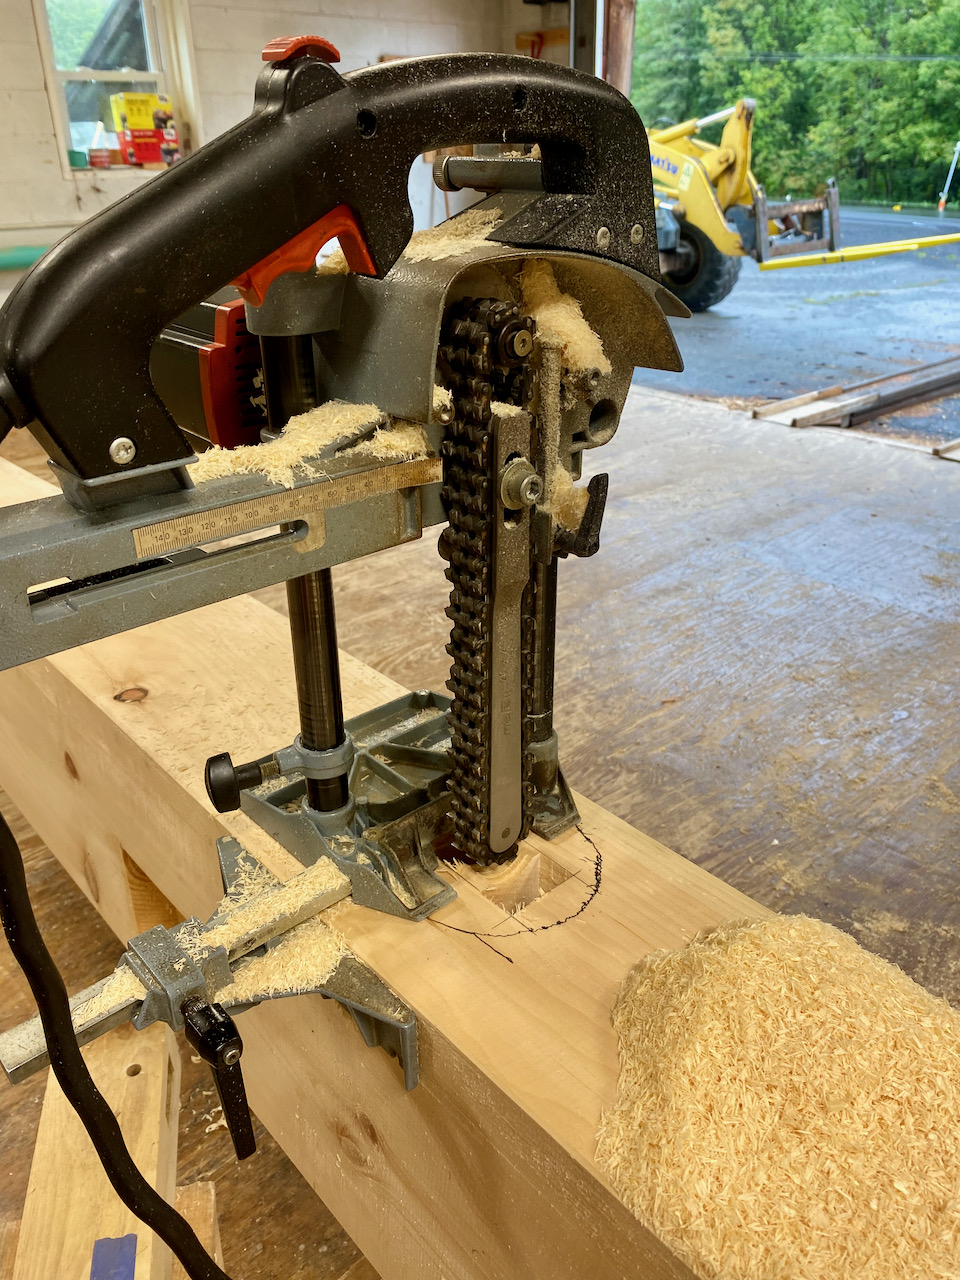
Next, we flipped the tie, marked the mortise locations, and plunged our chain mortiser. We shaped the fork tenons with the chainsaw, and finished delicately with chisels and hand planes.
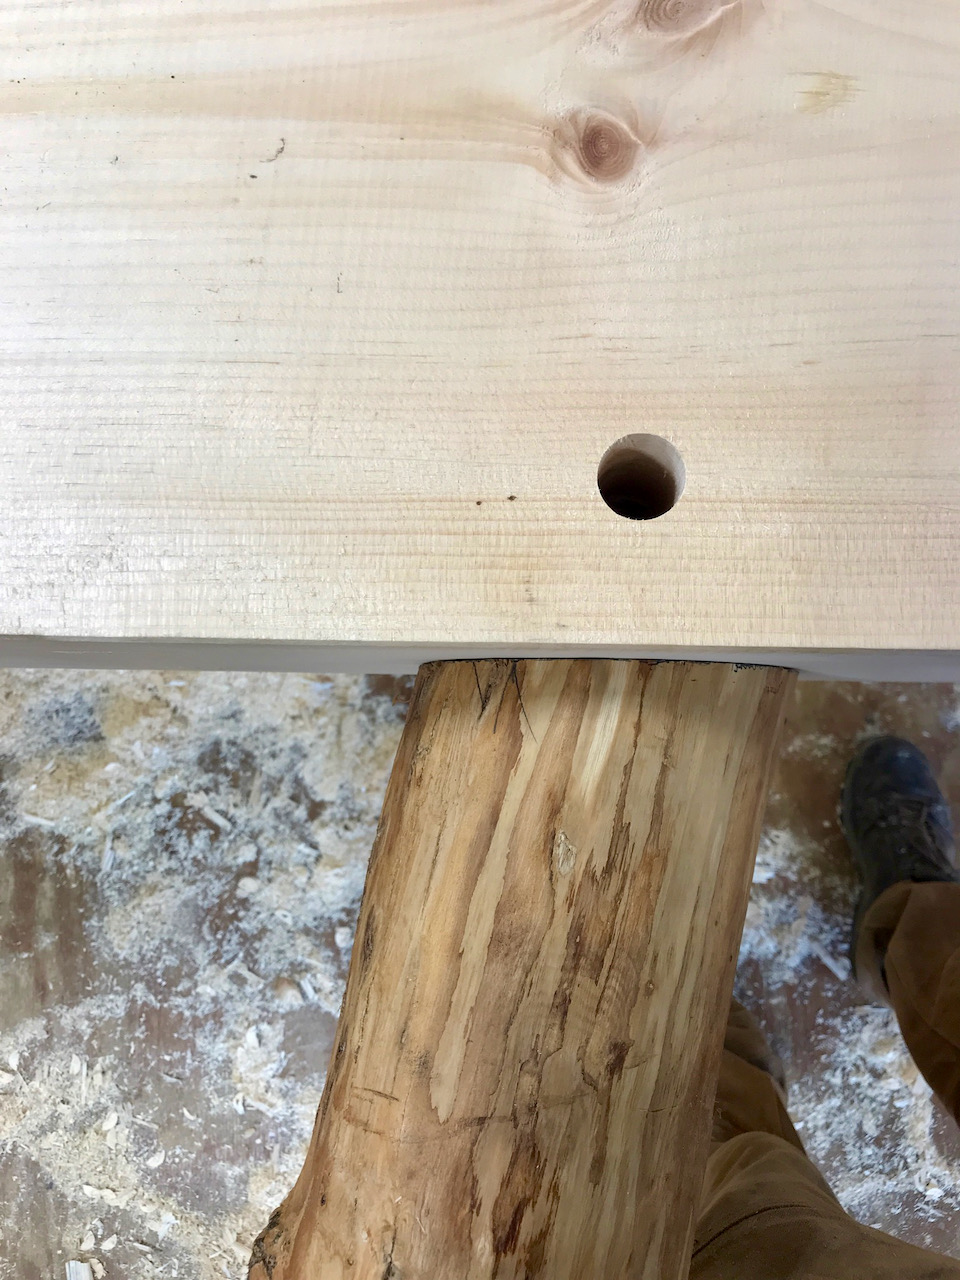
And finally, we tested the fit. After a few small adjustments, perfection! These joints will have a 1″ peg driven through to lock these pieces together.
While scribing is quite an involved process calling for meticulous attention to detail, we think the results are well worth it!